Adding/Editing elements
You can add more elements to a business view, or edit any of the existing elements at any time to suit your requirements.
Adding a category
To add a category, follow the steps below:
- Do one of the following:
- In the Catalog Browser resource tree, select the business view or any existing category, right-click it and click Add Category on the shortcut menu.
- In the Catalog Browser resource tree, select the business view, right-click it and click Edit Business View on the shortcut menu, then in the Business View Editor window, select the business view or any existing category in the Business View panel, then,
- Right-click and select Add Category from the shortcut menu.
- Click Insert > Category on the menu bar.
- Click the Insert Category button
 on the toolbar.
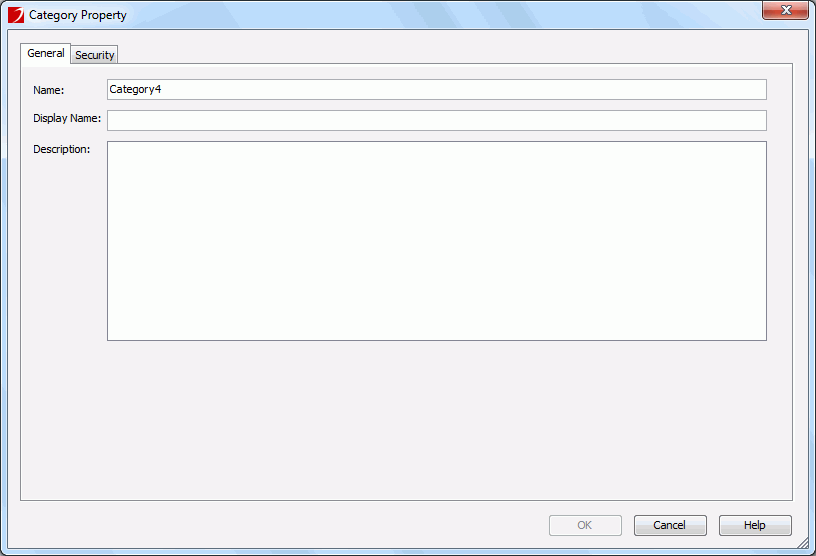
The Category Property dialog appears. See the dialog.
- In the General tab, set the display name of the category in the Display Name text field. It must be unique at current level.
- Type a description for the category in the Description text box if required, which will be shown when you hover the mouse pointer over the category in the Resources panel of Web Report Studio.
- Click the Security tab and set permission to group elements as required (for details, see Configuring member-level security).
- Click OK. A new category will be added to the business view or the selected category. You can then add view elements to it.
Editing a category
To edit an existing category:
- Do either of the following to open the Category Property dialog.
- In the Catalog Browser resource tree, select the category you want to edit, right-click it and click Edit Category on the shortcut menu.
- In the Catalog Browser resource tree, select the business view, right-click it and click Edit Business View on the shortcut menu, then in the Business View Editor window, select the category you want to edit in the Business View panel, right-click it and select Edit Category from the shortcut menu.
- In the General tab, edit the general information of the category.
- In the Security tab, edit the security information.
- When done, click OK to accept the changes.
Adding a view element
To add a view element, take either of the following two ways:
- Adding via dialog
- Do one of the following:
- In the Catalog Browser resource tree, select the business view or any existing category, right-click it and click Add View Element on the shortcut menu.
- In the Catalog Browser resource tree, select the business view, right-click it and click Edit Business View on the shortcut menu, then in the Business View Editor window, select the business view or any existing category into which you want to add the view element in the Business View panel, then,
- Right-click and select Add View Element from the shortcut menu.
- Click Insert > Group/Aggregation/Detail on the menu bar.
- Click the Insert Group button
 , Insert Aggregation button
  , or Insert Detail button
  on the toolbar.
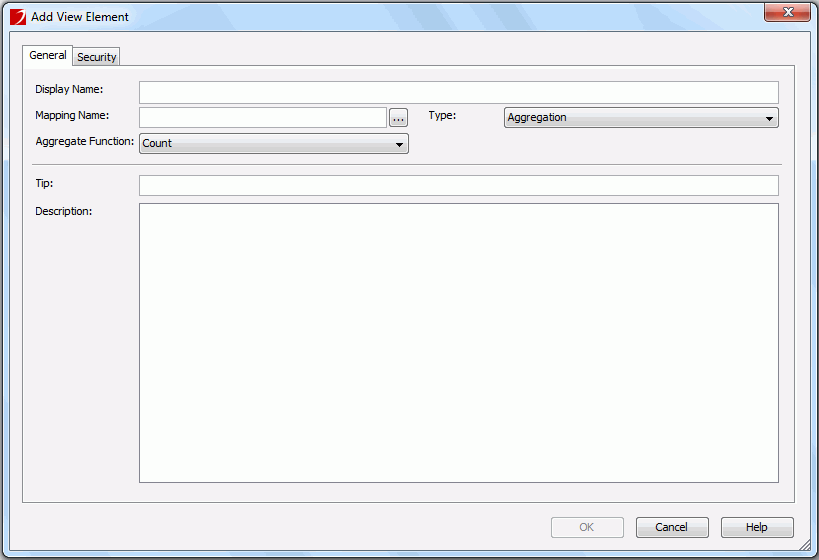
The Add View Element dialog appears. See the dialog.
- In the General tab, decide the type of the view element by selecting the corresponding item from the Type drop-down list.
- Specify the display name of the view element in the Display Name text field.
By default, the display name is the same as the mapping name. You can change it according to your requirements. The display name must be unique at current level.
- Click the button
 next to the Mapping Name text field to specify the mapping field of the view element.
- If you choose to create an aggregation object, click the Aggregate Function drop-down list to specify the aggregate function for the object.
- Specify the tooltip and description of the view element in the Tip and Description text boxes respectively if required, which will be shown when you hover the mouse pointer over the view element in the Resources panel of Web Report Studio.
- Click the Security tab and set permission to group elements as required (for details, see Configuring member-level security).
- When done, click OK to close the dialog.
- Adding by dragging
In the Business View Editor window, drag a table, DBField, formula, or summary from the Resource Objects panel to the business view or a category. Then, all DBFields in the table, the DBField, formula, or summary will be added as view element into the business view or the category you drop it into, and JReport will determine their types automatically.
Editing a view element
To edit an existing view element:
- Do either of the following to open the Edit View element dialog.
- In the Catalog Browser resource tree, select the view element you want to edit, right-click it and click Edit on the shortcut menu.
- In the Catalog Browser resource tree, select the business view, right-click it and click Edit Business View on the shortcut menu, then in the Business View Editor window, select the view element you want to edit in the right panel, right-click it and select Edit from the shortcut menu.
- In the General tab, edit the general information of the view element.
- In the Security tab, edit the security information.
- When done, click OK to accept the changes.
Note: The display names of the view elements in a category must be unique, and the category display names also should be unique in a business view.