To define the display type of a label as image, follow the steps below:
 and select a formula from the drop-down list. You can also click the <CREATE FORMULA> item in the list to create one as required. If the label is in a crosstab, you can also use a crosstab formula created in the crosstab to control the image source, or click <CREATE CROSSTAB FORMULA> to create one.
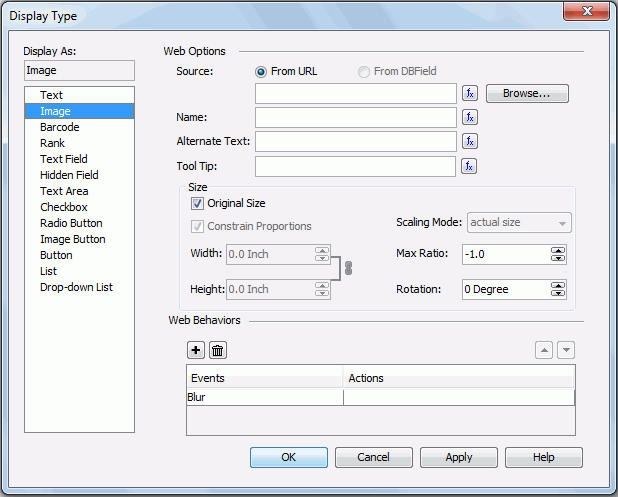
For a DBField, formula, or a summary, you can also check the From DBField radio button to make the value of the DBField/formula/summary the image source. If you choose this option, the Decode Type drop-down list is enabled, from which you can specify the type for decoding the image.
The following are the available scaling modes:
Notes: