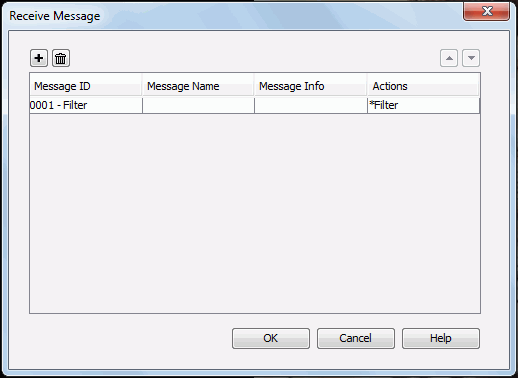
This dialog appears when you right-click a table, chart, crosstab or geographic map in a library component and select Receive Message from the shortcut menu. It helps you to define the messages the data component is going to receive and specify the actions that will be triggered as a response to each of the messages it receives at runtime. See the dialog.
The following are details about options in the dialog:

Adds a new message line.

Removes the selected message line.

Moves the selected message line up a step.

Moves the selected message line down a step.
Message ID
Specifies the ID of the message to be received. You can select the ID from the drop-down list or input it into the text field manually.
Message Name
Specifies the name of the message to be received.
Message Info
Available to the 0003 - Parameter message only. When Message ID is 0003 - Parameter, you need to choose a message type from the Message Info column: Automatic or Customized.
Actions
Specifies the action to respond to the message to be received.

OK
Accepts the changes and closes this dialog.
Cancel
Does not retain any changes and closes the dialog.
Help
Displays the help document about this feature.